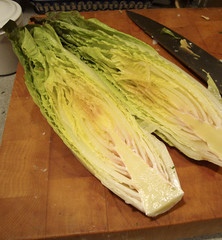
I meant to to get this post up before this holiday weekend started. This salad is a great healthy, vegetarian, colorful side dish that goes well alongside grilled meat. It also improves with age - so you can make it a day or two ahead. I fancied it up with a large chunk of burrata cheese - feel free to omit it if you prefer.
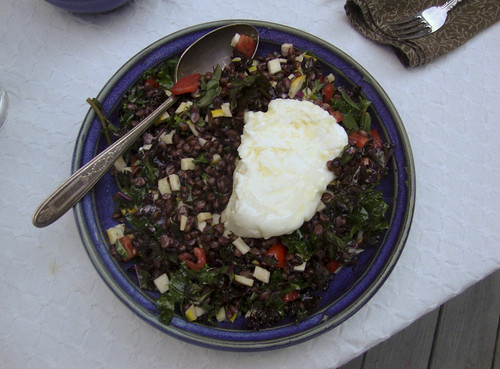
Black Barley Salad with Burrata
Serves about 8-10 as a side dish, makes a generous 4-6 main course servings.
I liked the richness added by the burrata - if you don't have any at hand, fresh mozzarella, goat cheese or ricotta salata would be great. Or go dairy-free and toss on slices of hard-boiled egg.
- 1 cup uncooked black barley or 4 cups cooked barley (or pearl barley or "regular" barley - this salad would also work with farro or wheatberries)
- 2-3 small zucchini, diced
- 2 large tomatoes, diced
- 2 handfuls purslane leaves
- 1 small onion, sliced into thin rounds
- red wine vinegar
- olive oil
- salt and pepper
- 8 ounces burrata, left whole (preferred) or torn into shreds
Cook the barley, if needed: pick through the uncooked grains to remove any stones or bits of twig or chaff. Place in saucepan and cover with water by two inches and bring to boil. Reduce heat to a simmer, add a healthy pinch of salt and cook until the grains are tender. This will take from 45 minutes to 2 hours, depending on the grain you're cooking and how old it is. Add more water as needed to keep the barley covered.
When the barley is cooked, drain it in a colander and set aside to cool.
Toss half of the cooked barley with the vegetables. Add more barley until you have the vegetable/grain ratio you like. (You may not use all of the barley. Any leftovers can be frozen for future use.)
Sprinkle the salad with red wine vinegar and a healthy glug or two of olive oil. Season to taste with more vinegar and oil and salt and pepper. Top the salad with burrata and serve.
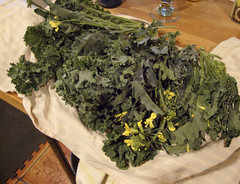
This Summer, I am chronicling my first CSA (Community Supported Agriculture) experience. My CSA share is from Arrowhead Farm, a farm based in Newburyport, MA. Each week, I am posting about what was in my share and what I'm doing with it. By way of full disclosure, I won my share through a raffle and am not paying for it. However, Arrowhead did not know I was entered in the raffle, and I received no special consideration because of this blog. I paid for my livestock share. A full set of all the photos I've taken of this share is here.


 olive oil