Cheesemaking at home sounds scary and/or exotic to many people. I am not going to tell you that it's easy to produce an English farmhouse cheddar in your kitchen (although you could do it if you wanted to), but there are many simple projects that you can tackle without too much (if any) special equipment. This is one of them.
Cheesemaking is a fairly basic process: milk is heated to a specific temperature and a coagulant or starter is added to cause the milk to form curds and whey (remember
Little Miss Muffet?). What kind of cheese you end up with depends on the type of milk, the type of starter, the temperature(s) you use and whether you use the curd or whey.
Ricotta was traditionally made as a way to use up the whey that is produced when other cheeses (like mozzarella or parmesan) are made. Cheesemaking is a great way to use up excess milk, but you will end up with more whey than curds. (See the picture below to see how much ricotta I got vs. how much whey I was left with.) A whole group of whey-based cheeses was developed to use up all that whey. Take a look at the supermarket dairy case sometime: any mozzarella manufacturer (Dragone, Polly-O, Sargento, etc.) also produces ricotta. That's not just because they want to be your one-stop-shop for lasagna ingredients.
Now for those of us who are working on a smaller scale, like you and me, ricotta is best made from milk, not whey (because you need
a lot of whey to get any useful yield). So, technically, what we are making in this recipe is more like queso fresco or fresh paneer. But, it looks like ricotta, behaves like ricotta, and tastes like ricotta. So there. You wanna call it something else, that's fine with me.
Now, finally, the recipe (totally lifted from Heidi at
101 Cookbooks). To make more, just double, triple, quadruple the recipe - the technique is the same, the only major differences will be the length of time is takes to come up to temp and to drain sufficiently. The only special pieces of equipment you need are a thermometer (deep frying or candy thermometer are fine) and cheesecloth or a very fine-mesh strainer.
Homemade Ricotta Cheese
Yields about 2 cups of ricotta and 6-7 cups of whey
 One-half gallon milk (Use good quality milk - there isn't much else providing flavor to this cheese, so it's worth paying extra for local, fresh milk. I have used both whole milk and 2% milk, you could try skim or 1% if you want, but I can't vouch for the results)
- 2 cups buttermilk
- salt to taste
Put the milk and buttermilk in a pot large enough to hold them. Heat over a medium heat. You will see curds start to form. Occasionally,
gently stir the pot, making sure the milk isn't scorching on the bottom of the pot.
When the milk reaches 175 degrees (this takes about 15 minutes), you will see the curds floating in the whey (you'll know it when you see it - no worries). Turn off the heat and let the milk sit for a few minutes.
Now you need to drain the ricotta: Moisten your cheesecloth and lay it into a colander or strainer over a bowl (if you want to use the whey - see below) or in the sink (if you don't want to use the whey). Gently ladle the contents of the pot into the cheesecloth lined strainer. Tie the cheesecloth into a bag and let the ricotta drain.
Do not squeeze the bag to speed things up. You'll just squeeze your beautiful ricotta through the cloth. If you have a super-fine strainer (the kind that looks like cloth made of metal strands), just ladle the curds directly into it and let them drain.

I like a drier ricotta, so I let mine drain off for at least 30 minutes, although 15 minutes should give you a nice, creamy ricotta. Add salt to taste. Leave it unsalted if you're going to use it for sweet dessert like cheesecake or cannoli.
This whole process, not counting draining time, takes about 20 minutes and most of that is watching your milk. Easy and delicious.
Now, what to do with all that whey?
You can just throw it out (I will confess to doing that myself), but you can also use it in a few ways:
- Use it in place of water in yeasted bread recipes.
- Use it in cold soups (this whey tastes a bit like buttermilk) like a cucumber soup or a vichyssoise.
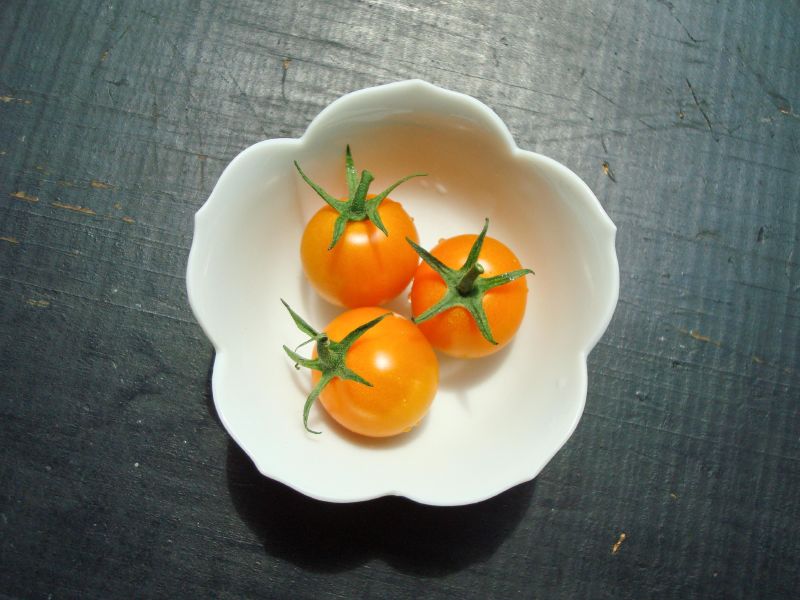
- Water your patio plants (there's a calcium in there - tomato plants like calcium).
- Use it as a buttermilk replacement for pancakes or quick breads.
 I don't know if it's the sultry heat, the high humidity or a general lack of inspiration, but I have found that I am steaming a lot of my vegetables this summer. To many, myself included, steaming is the "healthy" (read: boring) option for cooking vegetables - no added fat, no added salt, etc.
 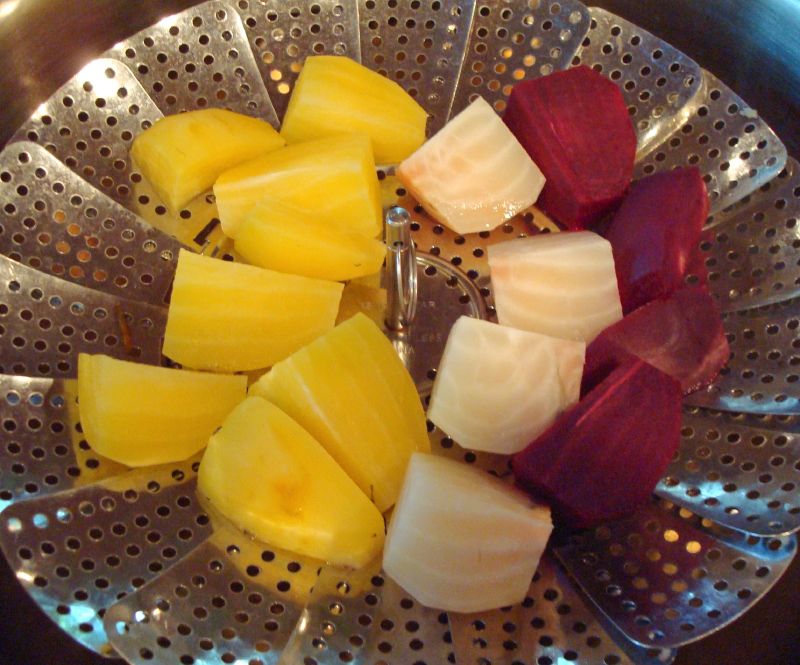 To add more flavor, what I do frequently is saute (in the same pan I used for steaming) the now-cooked vegetables quickly in some oil or butter with a little garlic, onion, herbs, etc. I get a more consistent result by pre-cooking the vegetables and then sauteing than by sauteing them to cook them through.